

1
Sign in to Omnifact
Open your web browser and navigate to 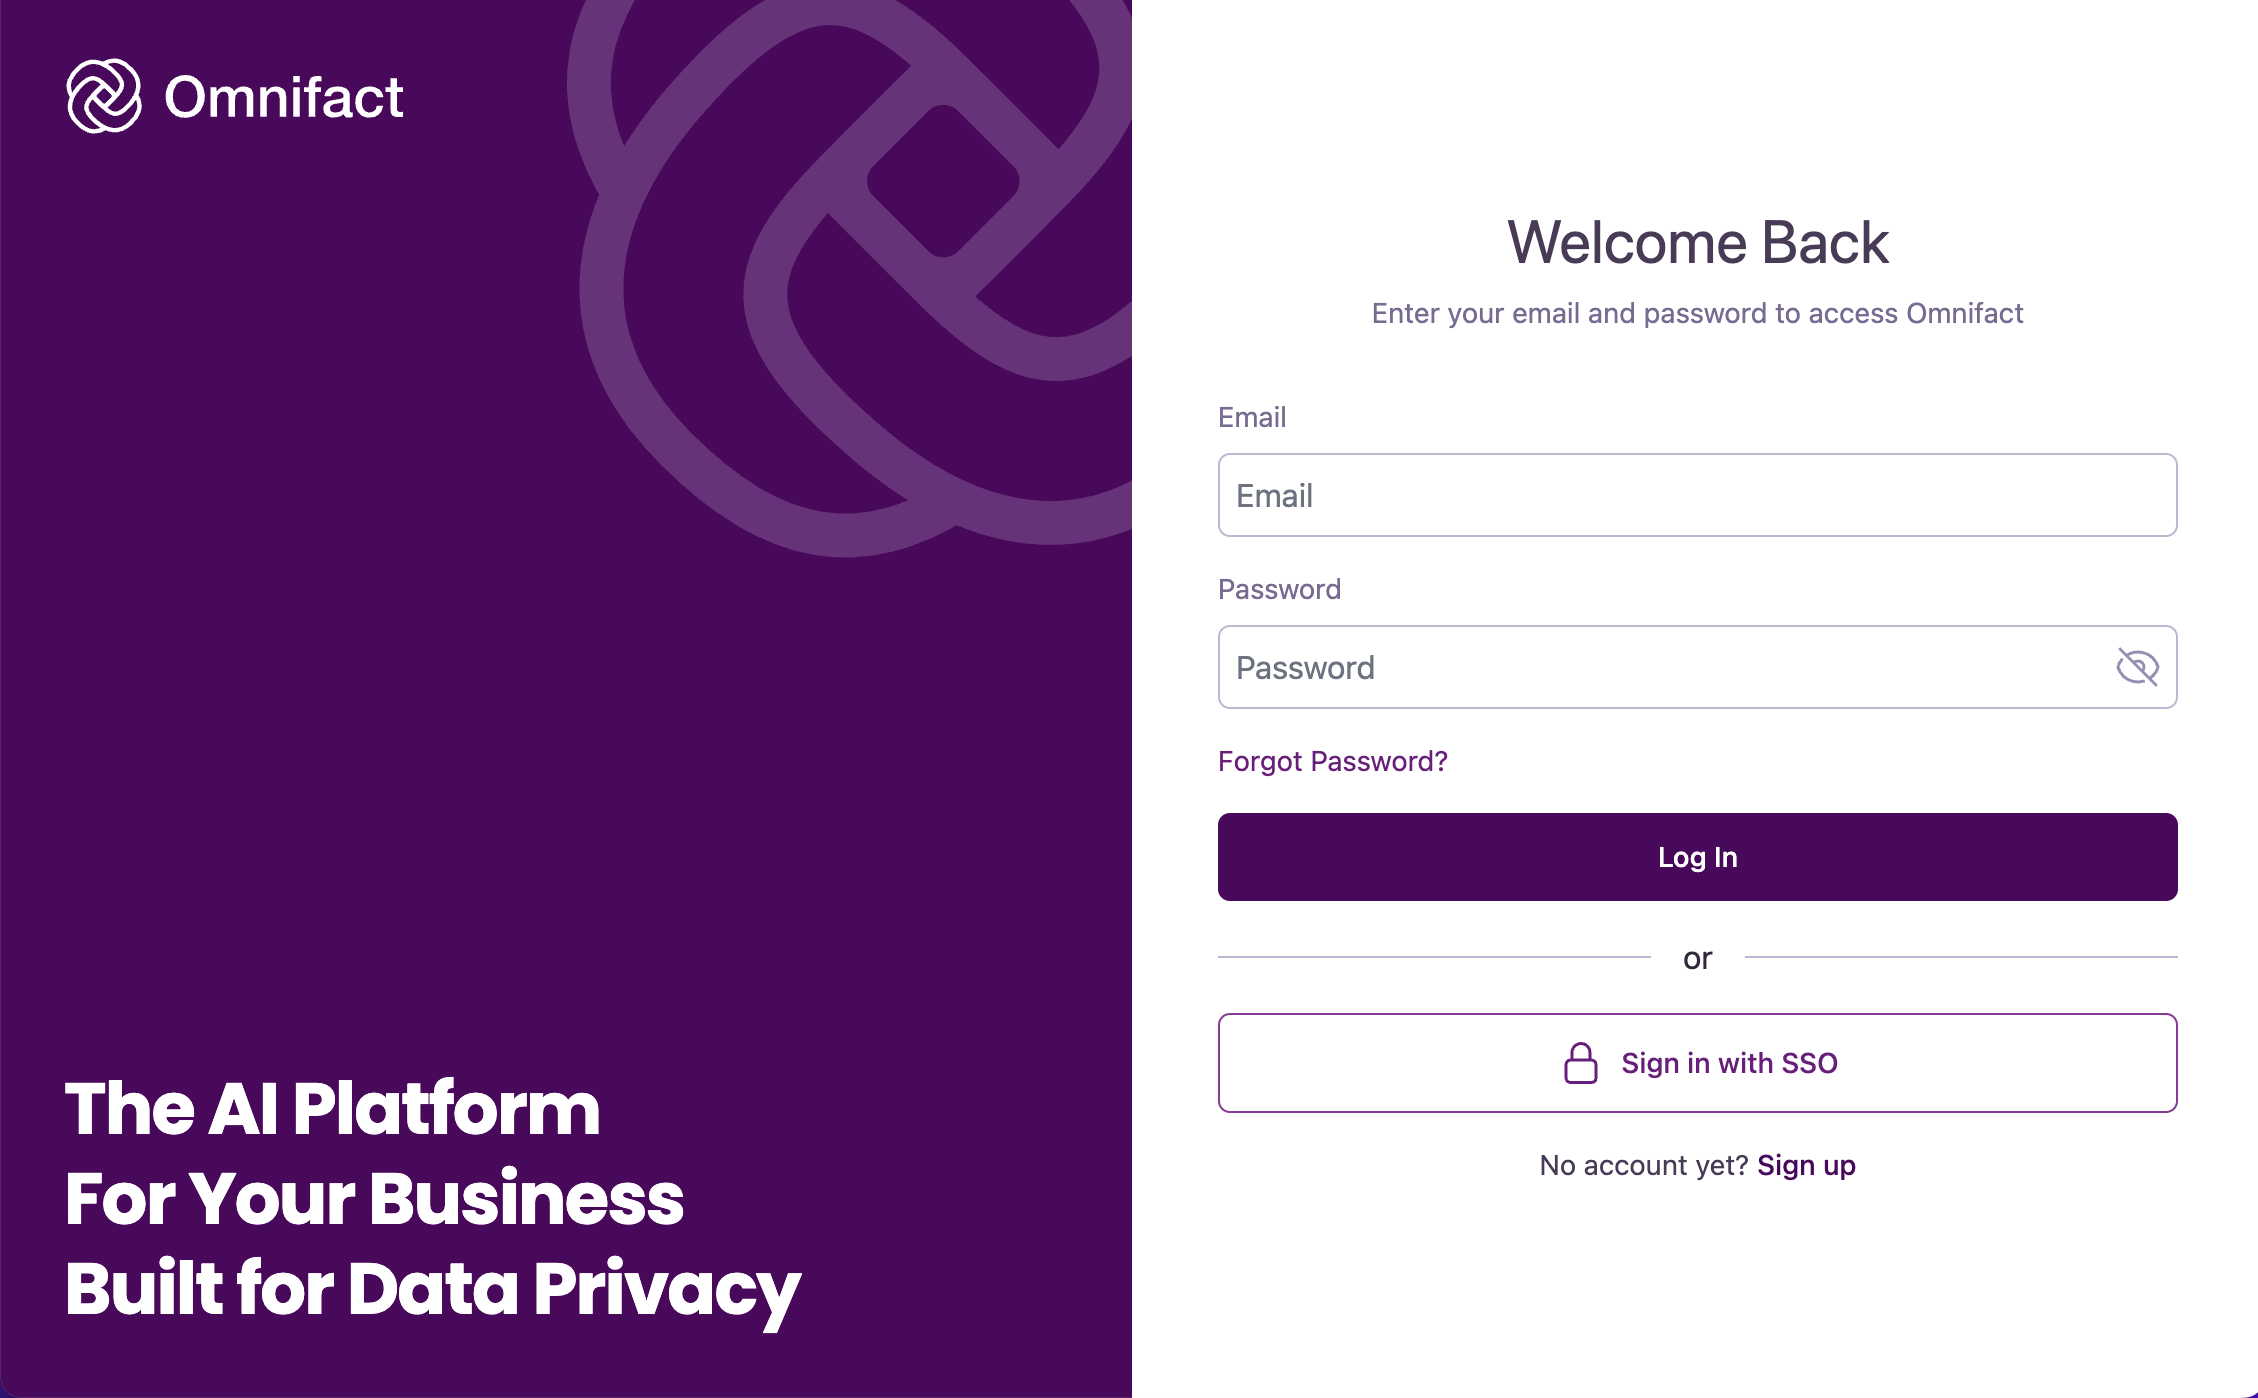
https://chat.omnifact.ai. Enter your account credentials or sign in using Single Sign-On (SSO) if configured by your organization.2
Start a new conversation
Once signed in, Omnifact opens directly into a new chat. To start a fresh conversation at any time, click New chat at the top of the sidebar or press Cmd/Ctrl + J.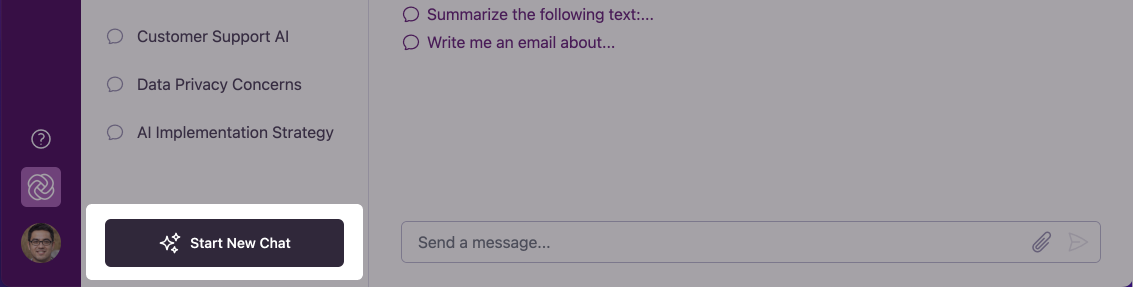
3
Send your first prompt
In the chat input at the bottom of the screen, enter your question or task. Start with a direct prompt:Press Enter or click the send button to submit your message. Use Shift+Enter to insert line breaks.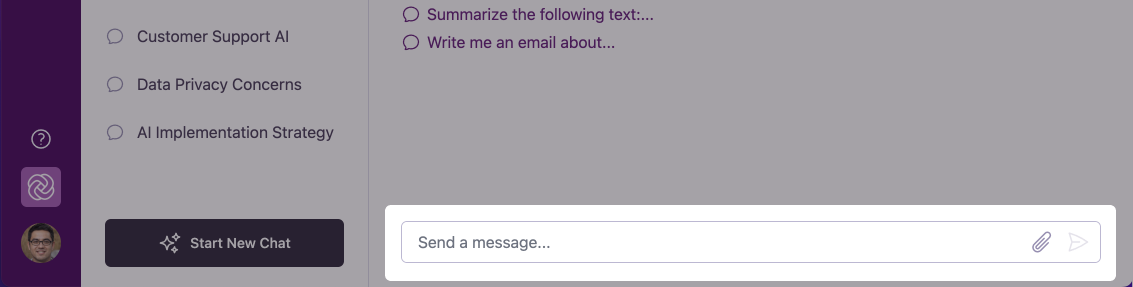
Draft an email
“Draft a concise email to my project team summarizing our weekly progress and outlining three next steps.”
Summarize or structure
“List the main differences between relational databases and document stores in a comparative table.”
4
Review the agent's response
Omnifact generates responses in real time using word-by-word streaming. Before your input reaches the external AI model, Omnifact’s scans the text: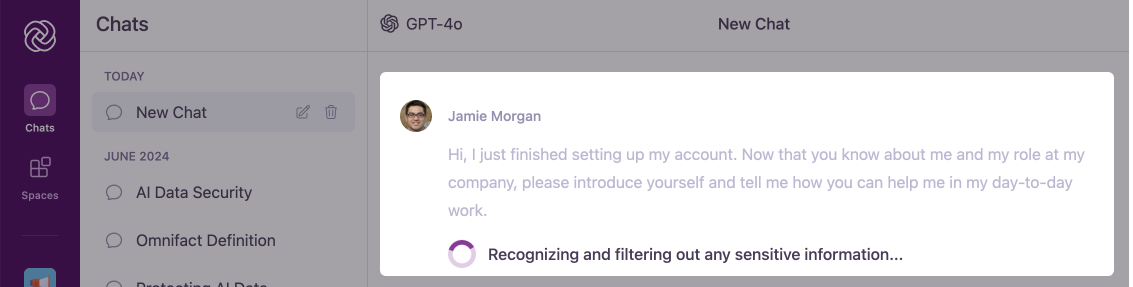
How the Privacy Filter works: Omnifact detects and replaces supported sensitive information (such as personal names, email addresses, phone numbers, and financial identifiers) before the prompt is sent to the selected model provider. When the model responds, the original values are automatically restored in the text.
The Privacy Filter protects supported PII and financial records by default. It does not inspect unsupported custom data types or external links. See How the Privacy Filter Works for supported entity types and Click to Reveal behavior.
5
Select an AI model or attach files
Customize your conversation using the controls inside the chat input:
- Choose an AI model: Click the model selector in the chat input to switch between available models from providers like OpenAI, Anthropic, Google, Mistral AI, or Azure OpenAI.
- Attach files: Click the + (Plus) attachment icon in the chat input to upload files for analysis.
- File limits: Up to 10 attachments per message. Images can be up to 20 MB; audio files up to 25 MB.
- Supported formats: PDF, Word, Excel, PowerPoint, OpenDocument, plain text (TXT, CSV, Markdown, JSON), images (PNG, JPEG, WebP, and others), and audio (MP3, WAV, and others).
More Things You Can Do
Once you are comfortable with basic chat, explore these core platform capabilities:Explore Spaces
Select Spaces in the main navigation to join or create dedicated project workspaces. Spaces feature specialized chat instructions, assigned team members, and a dedicated Knowledge Base.
Add Your Role and Response Preferences
Go to Account Settings > Personalization and complete What do you want Omnifact to know about you? and How do you want Omnifact to respond back to you? The agent incorporates these preferences into its answers.
Connect Cloud Storage
If enabled by your organization, link Google Drive, OneDrive, or SharePoint in Account Settings > Connections to import documents directly into chats and Spaces without manual file uploads.
Administer Your Organization
If you are an organization administrator, use Team Settings to configure authentication, data privacy, user groups, and AI model access.
Next Steps
Explore detailed guides to deepen your workflow:- Starting Your First Chat - Chat controls, shortcuts, and history management
- Exploring Spaces - Organize domain conversations and team knowledge
- How the Privacy Filter Works - Data masking and privacy safeguards
- Prompt Engineering Guides - Techniques for crafting effective prompts