

How HubSpot Setup Works at a Glance
HubSpot connects as an OAuth-backed MCP integration across three steps:1. Organization Admin
Installs HubSpot once from Team Settings > Integrations > Catalog and reviews per-tool execution policies (Always, Approval, or Disable).
2. Team Members
Sign in with their own personal HubSpot account under Account Settings > App Connections so HubSpot permissions stay enforced per user.
3. In Chat
The queries live CRM records on demand and asks for confirmation in chat before creating or updating any HubSpot record.
Step 1: Install HubSpot for Your Organization (Admin)
An organization Owner or Admin adds the HubSpot integration once in Team Settings.1
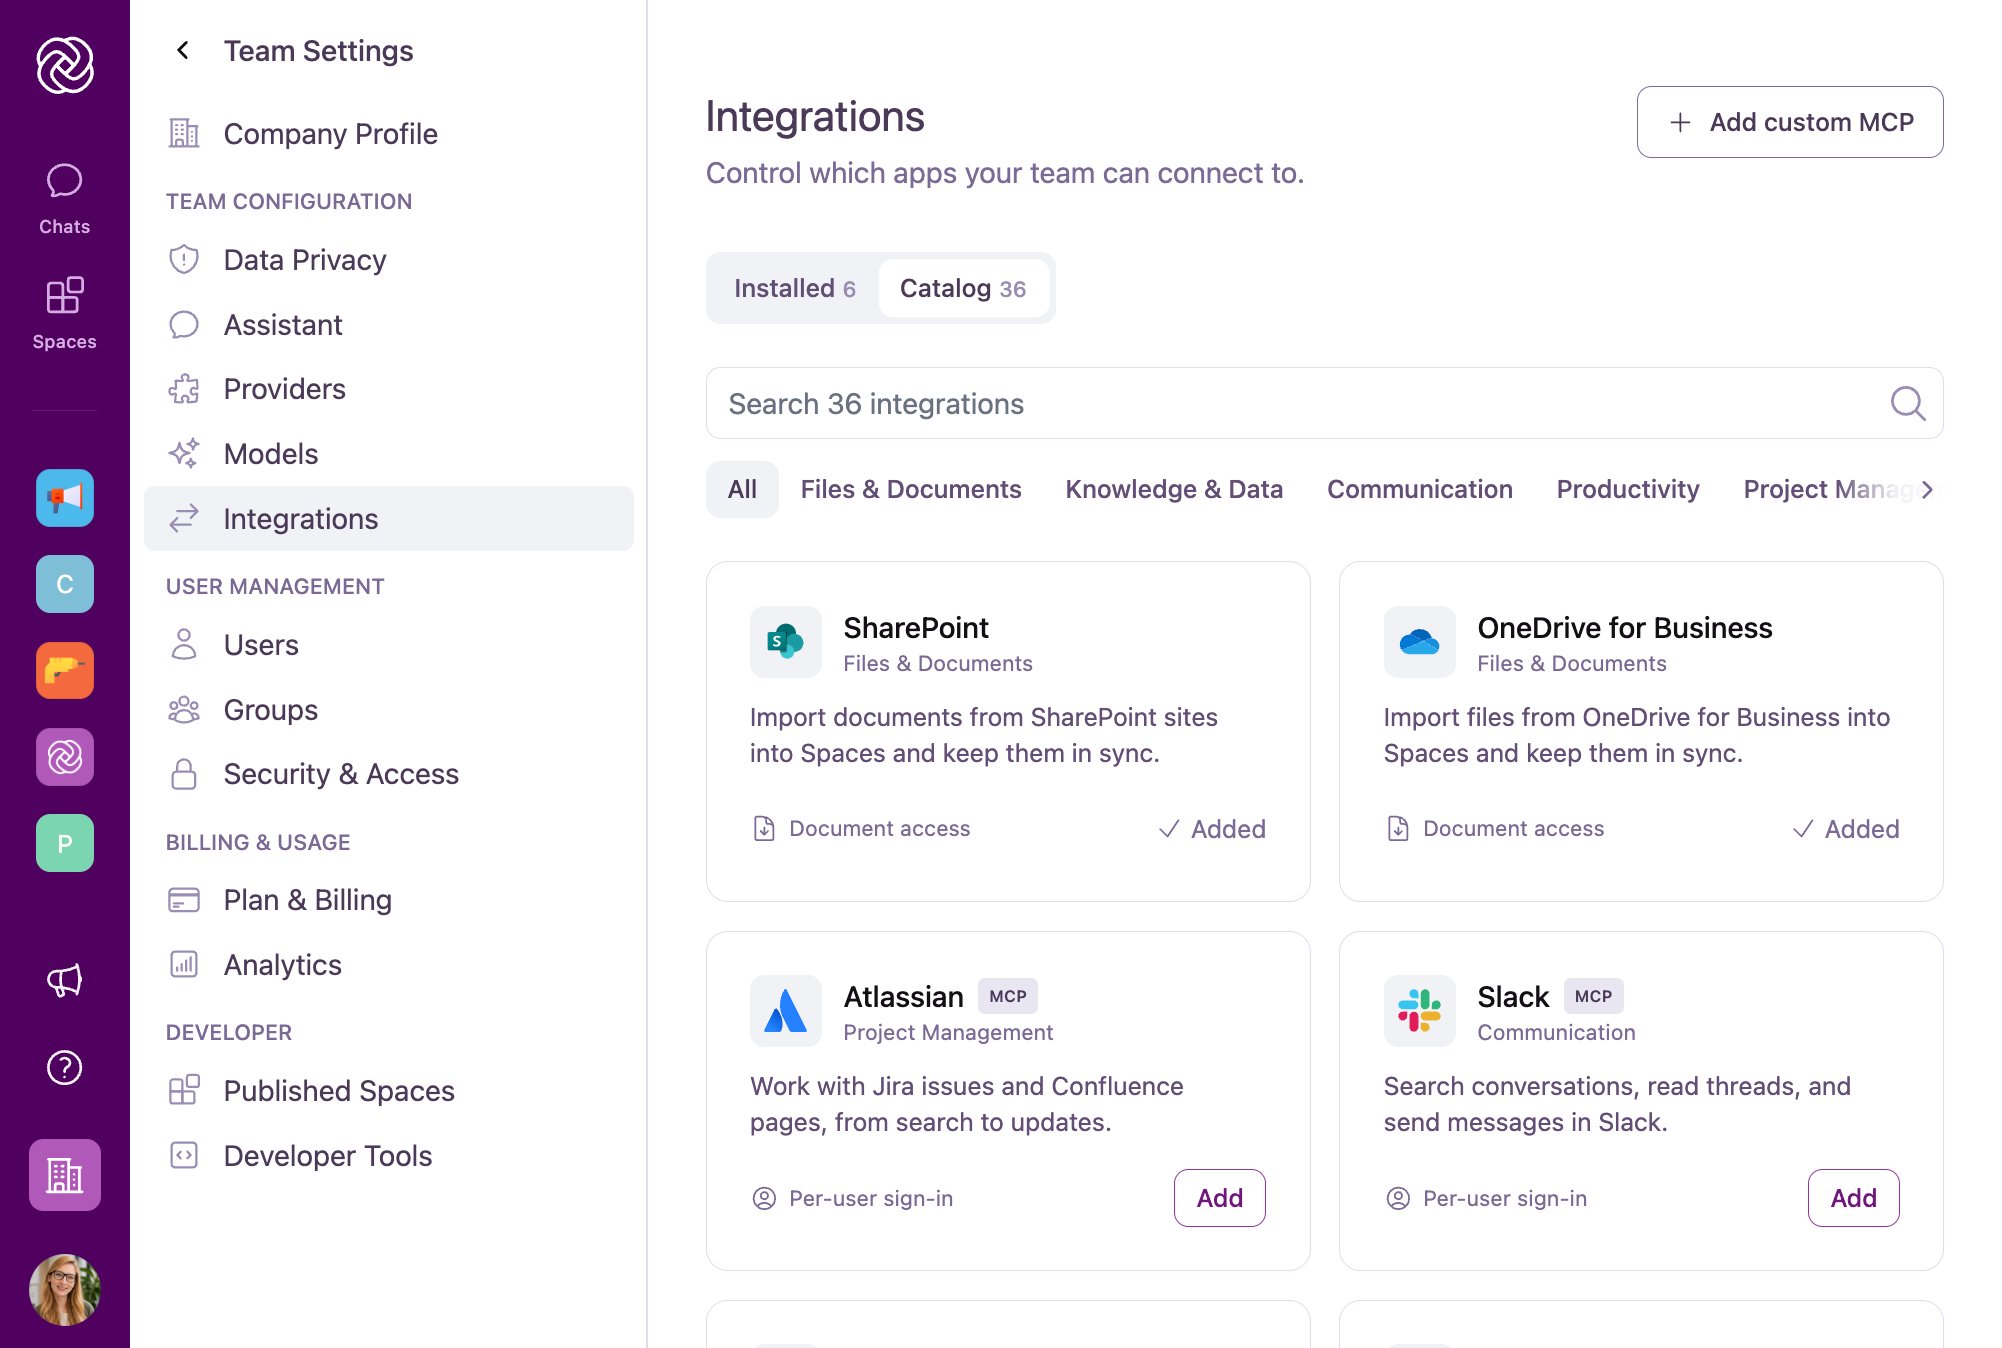
Open the Integrations Catalog
Click your User Avatar in the bottom-left corner, go to Team Settings > Integrations, and open the Catalog tab.
2
Select HubSpot
Filter by Sales & Service (or search for
HubSpot) and click Add on the HubSpot card.3
Choose Automatic Setup or Your Own HubSpot OAuth App
In the Add integration dialog, review the connection summary (
https://mcp.hubspot.com) and choose how users will authenticate:- Automatic setup (Omnifact Cloud default): Omnifact provides a pre-configured HubSpot OAuth app so you can connect in one click without registering an app in HubSpot.
- Use your own OAuth app (Optional or self-hosted): If your organization prefers to authenticate through its own registered HubSpot app, click Use your own OAuth app, register the displayed Redirect URI (
https://chat.omnifact.ai/oauth/mcp-callback) in your HubSpot developer account, and enter your Client ID and Client secret. See Registering Your Own OAuth Client for details.
4
Sign In and Discover Tools
Click Sign in with HubSpot. In the HubSpot popup window, sign in with your HubSpot account, select your HubSpot portal, and grant access.Omnifact validates the connection, discovers the available HubSpot tools, and redirects you to the HubSpot server details page under Team Settings > Integrations > Installed.
Step 2: Review Tool Access Policies (Admin)
After installing HubSpot, you land directly on its tool governance page. Every tool exposed by the HubSpot MCP server operates under one of three execution policies:- Always: Safe, read-only lookups (such as searching contacts, reading companies, viewing deal pipelines, or listing tickets) run autonomously without interrupting the user.
- Approval: State-changing operations (such as creating or updating contacts, advancing deal stages, or logging call notes and tasks) pause generation and display an interactive confirmation banner in chat before writing to HubSpot.
- Disable: Hides the tool completely so AI models cannot see or invoke it.
Step 3: Connect Your Personal HubSpot Account (All Users)
Installing HubSpot in Team Settings makes the integration available to your workspace, but tools are not active for individual users until they connect their own HubSpot account. Because each person signs in individually, the agent only sees and updates the contacts, companies, deals, and tickets that user’s HubSpot role allows.1
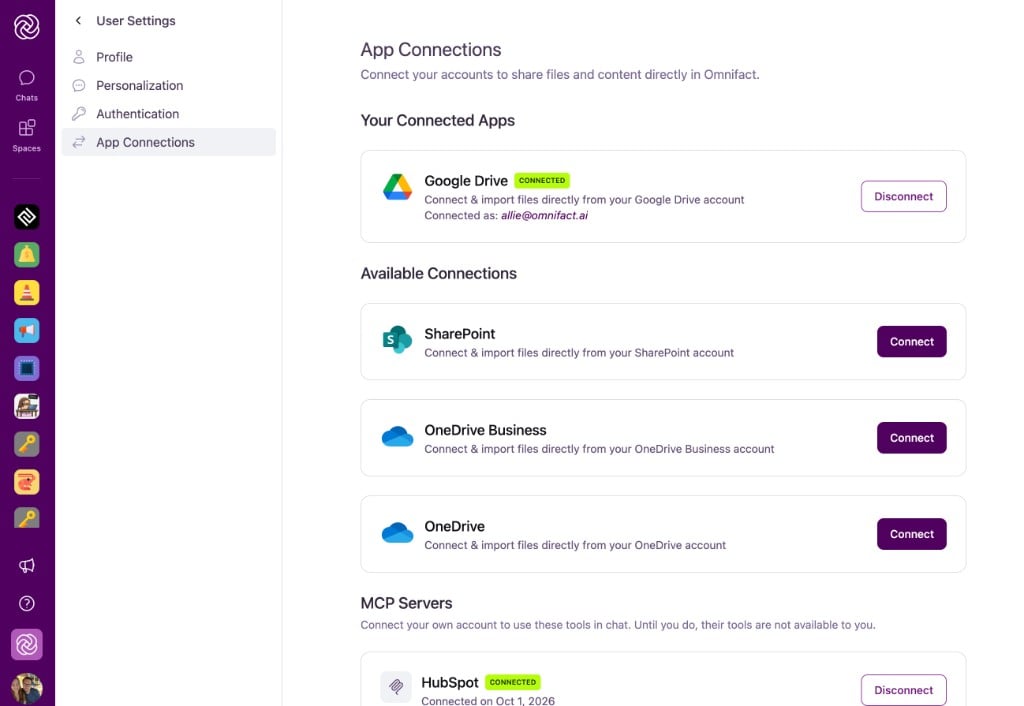
Open App Connections
Click your User Avatar in the bottom-left corner, select Account Settings, and open App Connections (or go directly to
https://chat.omnifact.ai/account/connections).2
Connect HubSpot Under MCP Servers
Scroll down to the MCP Servers section, find HubSpot, and click Connect.
3
Select Your HubSpot Portal and Authorize
Sign in to HubSpot in the popup window, select your organization’s HubSpot account, and approve the requested permissions. The HubSpot card now displays a Connected badge.
In-chat onboarding hint: If a team member asks the agent to look up or update HubSpot records before linking their account (or after their session expires), the agent automatically prompts them in chat to connect HubSpot under Account Settings > App Connections.
Step 4: Using HubSpot in Chat & Approving CRM Updates
Once your HubSpot account is connected, simply mention HubSpot or your CRM records in any chat or :Prepare a Pre-Call Briefing
“Prepare a pre-call briefing for Acme GmbH from HubSpot: list the associated contacts, open deals with their current stage and amount, open support tickets, and a summary of the last 3 notes or emails.”
Log Call Notes & Follow-Ups
“Here are my rough notes from the Acme GmbH call. Log them as a note on the deal in HubSpot, create a follow-up task for Friday, and move the deal stage to Decision Maker Bought-In.”
Inspect Pipeline & Deals
“Show all open HubSpot deals closing this quarter over €20,000, grouped by pipeline stage, and flag any deal with no activity in the past 14 days.”
Review Tickets & Conversations
“List all open HubSpot support tickets for Acme GmbH and check how they relate to their active renewal deal.”
Confirming CRM Changes in Chat
Whenever the agent invokes a HubSpot tool configured with the Approval policy:- Response generation pauses and an interactive Tool Approval Banner appears directly above the chat input.
- You can expand the banner to inspect the exact HubSpot tool name and field values being sent.
- Click Allow to execute the update in HubSpot, or Deny to cancel the action without modifying any CRM data.

Common Questions & Troubleshooting
Why does the agent say it cannot access HubSpot?
Why does the agent say it cannot access HubSpot?
Check two places:
- Personal connection: Open Account Settings > App Connections and verify that HubSpot under MCP Servers shows Connected. If it shows Reconnect required, click Reconnect.
- Tool policy: Ask an administrator to check Team Settings > Integrations > Installed > HubSpot to ensure the required HubSpot tools are set to Always or Approval rather than Disable.
Which HubSpot records can colleagues see through Omnifact?
Which HubSpot records can colleagues see through Omnifact?
Only the contacts, companies, deals, tickets, and campaigns that their own HubSpot user account is permitted to view. Omnifact never uses a shared admin API key for catalog OAuth integrations, so HubSpot team-level and owner-level permissions remain strictly enforced.
Does Omnifact copy or index our entire HubSpot database?
Does Omnifact copy or index our entire HubSpot database?
No. Unlike Connected Sources for cloud storage, HubSpot MCP tools query live records on demand only when your conversation requires them. Your CRM database stays in HubSpot.
How do we switch from automatic setup to our own HubSpot OAuth app later?
How do we switch from automatic setup to our own HubSpot OAuth app later?
An administrator can open Team Settings > Integrations > Installed > HubSpot, click Edit, click Use your own OAuth app, enter the organization’s Client ID and Client secret (with
https://chat.omnifact.ai/oauth/mcp-callback registered as the redirect URI in HubSpot), and click Connect & Save.Related Resources
MCP Servers
Deep dive into MCP server setup, custom OAuth client registration, and per-tool governance.
App Connections
How users connect, reconnect, and manage their personal tool accounts.
Integrations Administration
Explore all 35+ connectors in the Integrations Catalog.
Setting Up SharePoint
Connect Microsoft SharePoint to sync document libraries into Spaces and attach files in chat.