Looking to connect cloud storage instead of uploading files manually? See Connected Sources to automatically index and search files from Google Drive, OneDrive, or SharePoint.
Accessing Uploaded Files
To access your Space’s uploaded files, navigate to the Space Settings (via the “Cog” icon in the Space header or the “Space Settings” button in the sidebar). Next, navigate to the “Uploaded Files” tab. This will take you to the complete document management interface where you can add, remove, and organize your files.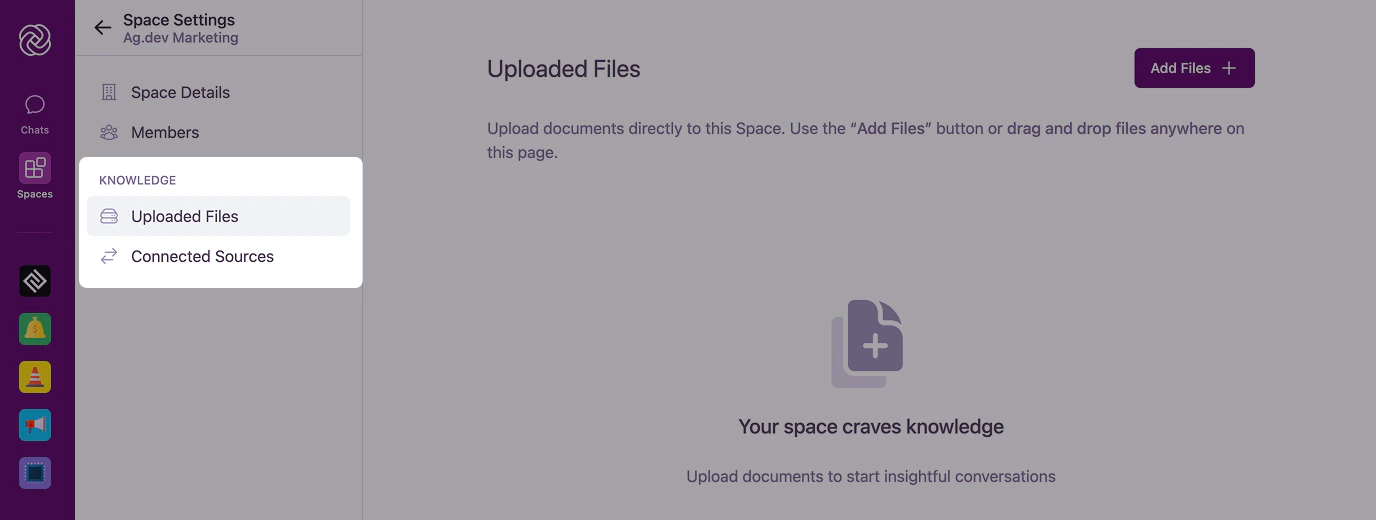
You need admin permissions in a Space to manage its uploaded files. If your organization has enabled the
KnowledgeBaseManagerRole feature, you must also be assigned the organization-level Knowledge Base Manager role in addition to being a Space Admin to manage document content.Adding Documents
Adding documents to your Space is a straightforward process:Open upload interface
In the Knowledge tab, you’ll see a prominent upload area with “Drag & Drop” functionality.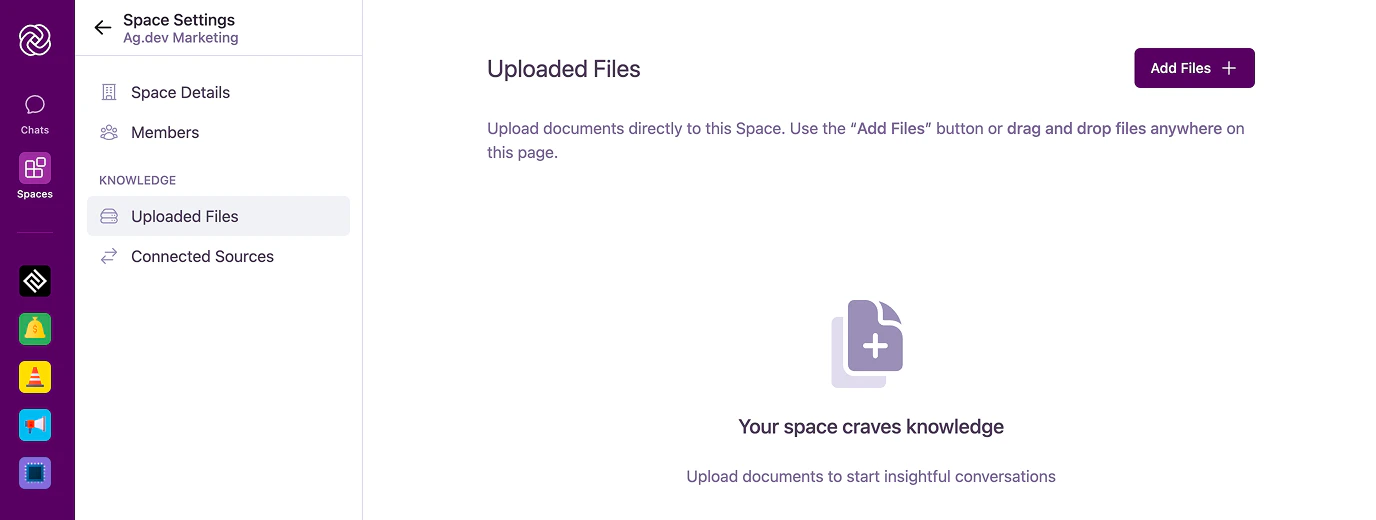
Choose files
Either drag files directly into the upload area or click “Browse” to select files from your computer or cloud storage (Google Drive, OneDrive, SharePoint). To use cloud storage, connect your accounts first in Account Settings > Connections.
Supported formats include PDFs, common office document types (Word, PowerPoint, OpenDocument text/presentation formats), plain text files (TXT, JSON, Markdown, CSV, SVG), and images (PNG, JPEG, WebP, HEIC/HEIF, AVIF, BMP, GIF, ICO, SVG, and TIFF). Images are automatically optimized for efficient processing while maintaining quality.

Document Processing Pipeline
After you upload a document, it goes through several steps before it’s ready for the AI to use:- Content Extraction: Text and structure are extracted from the file. For scanned PDFs or images, Optical Character Recognition (OCR) powered by Apache Tika is used to read the text.
- Validation & Chunking: The extracted text is validated and broken down into smaller, searchable pieces (chunks).
- Embedding: These chunks are converted into vector representations so the AI can perform semantic searches.
- Summarization: An LLM-powered process generates a summary of the document for quick reference.
- Processing: The document is actively going through the pipeline. This can take some time depending on the file size and complexity.
- Ready: The document is fully processed and available for the AI to retrieve.
- Failed/Error: The document could not be processed. This might happen if you exceed your document quota or if the file content cannot be extracted.
Document Source References
When the AI assistant uses information from your uploaded files, it will automatically its sources in the . This helps you:- Track which documents contain specific information
- Verify the accuracy of AI responses
- Understand which documents are most frequently referenced
- Build trust in the AI’s answers
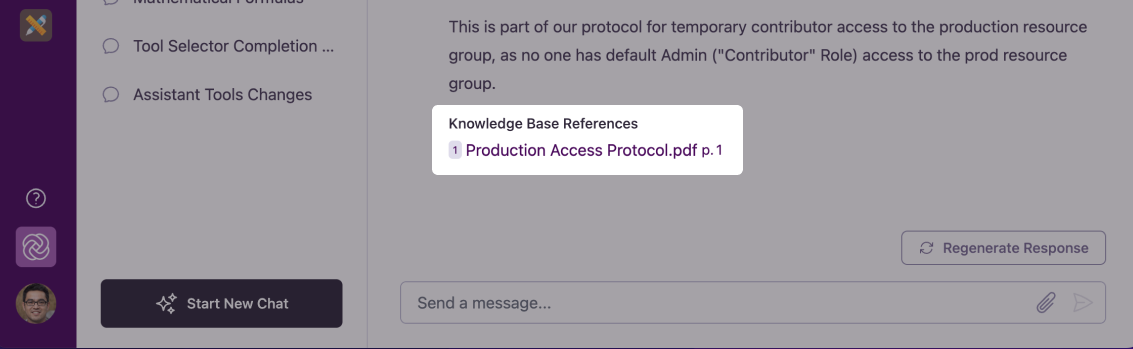
For more details about how the AI references and uses uploaded files in its responses, see Knowledge Base Retrieval.
Managing Existing Documents
Once documents are uploaded, you have several management options:Renaming Documents
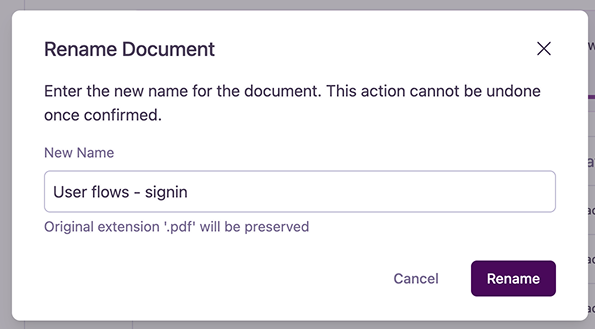
Renaming Documents
- Click the “Options” icon next to the document
- Select “Rename Document”
- Enter the new name in the popup dialog
- Confirm the change
Deleting Documents
Deleting Documents
- Click the “Options” icon next to the document
- Select “Delete Document”
- Confirm deletion in the prompt
Best Practices
Follow these guidelines to maintain your uploaded files effectively:Keep it Relevant
Only include documents directly related to the Space’s purpose. This helps the AI provide more accurate and focused responses.
Update Regularly
Replace outdated documents with current versions to ensure your AI assistant always works with the latest information.
Organize Thoughtfully
Use clear naming conventions and remove duplicate or redundant documents to maintain a clean, efficient collection of files.
Monitor Size
Be mindful of document size limits. Large files may take longer to process and could impact performance.
Tips for Success
Document Quality Matters
Document Quality Matters
- Use high-quality, well-formatted documents
- Ensure text is clear and readable
- Check for proper text formatting and layout
- Verify document accuracy before uploading
Strategic Document Selection
Strategic Document Selection
- Prioritize authoritative sources
- Add documents that directly support the Space’s objectives
- Remove outdated or superseded documents
Collaborative Management
Collaborative Management
- Coordinate with other Space admins
- Communicate document updates to team members
- Establish clear document management guidelines
- Regular review and cleanup of the uploaded files
Common Questions
What file types are supported?
What file types are supported?
The Uploaded Files feature supports PDFs, common office formats (Word, PowerPoint, OpenDocument text/presentation formats), plain text files (TXT, JSON, Markdown, CSV, SVG), and images (PNG, JPEG, WebP, HEIC/HEIF, AVIF, BMP, GIF, ICO, SVG, and TIFF).
Is there a size limit for documents?
Is there a size limit for documents?
No, there are no size limits on individual files or the total size of your uploaded files. However, larger documents will require more processing time when being analyzed by the AI assistant.
Who can see the documents I upload?
Who can see the documents I upload?
All members of the Space can see the names of the uploaded files. Only upload documents to a Space that you want all members to have access to.
Next Steps
Now that you understand how to manage your uploaded files, you might want to explore:- Knowledge Base Retrieval to learn how the AI uses these documents
- Connected Sources to automatically sync files from your cloud storage